Press the above App Icon; Choose either iOS or Android and register an account via the app only!
DO NOT REGISTER ON THE DESKTOP LOGIN
DO NOT CONNECT TO 5GHZ WI-FI ROUTERS
DO NOT USE A FAKE EMAIL
DO NOT USE A VPN
SETUP USING IPHONES
WRITE DOWN YOUR;
- SMARTPHONE HOTSPOT USERNAME
- HOTSPOT PASSWORD
- WATCH THIS VIDEO
This video shows how to add your camera for the first time to your iphone handset.
SETUP USING ANDROIDS
WRITE DOWN YOUR;
- SMARTPHONE HOTSPOT USERNAME
- HOTSPOT PASSWORD
- WATCH THIS VIDEO
This video shows how to add your camera for the first time to your android handset.
OVERWATCH SETUP
HOW TO BETTER UNDERSTAND YOUR SETUP PROCESS
HOTSPOT TRANSITION TO DONGLE
METHODOLOGY TRAINING
LEAVE YOUR DVR ON MOTION DETECTION
LEAVE IN SITU AND RETURN FOR FILE RECOVERY
TURNING ON MOTION DETECTION
DEFAULT IS EXCEPTIONALLY ACCURATE
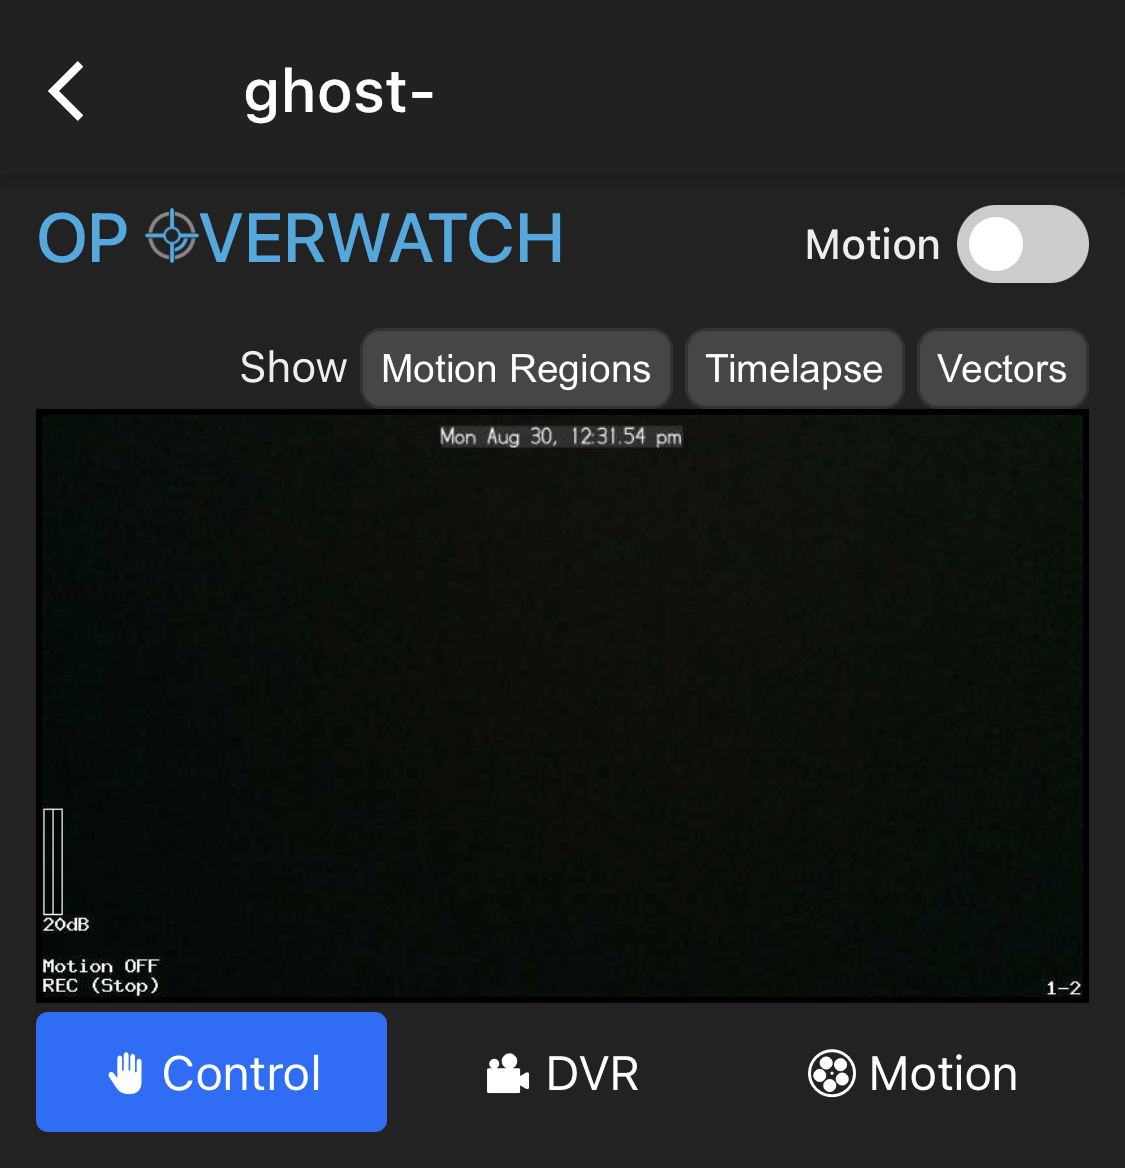
To activate motion detection you simply press the tab highlighted below from grey to blue.
DO NOT PRESS RECORD AS WELL AS MOTION
THE DVR WILL MALFUNCTION.
The default has been designed by us personally, offering; a 5 x second pre-event record and a post 10-30 x second record which is exceptionally accurate and perfect for all indoor, outdoor, driving and handheld operations.


ADVANCED MOTION BOXES
SPECIFY MOVEMENT RECORDINGS
Reshape, reposition, add or remove as many as you need. The smaller the box, the more sensitive it becomes!
This feature is only to be used when heavy foliage is in play; perfect for outdoor applications and allows you to eliminate moving foliage etc which can cause false recordings. This feature also works through glass and is tested accurate upto 150ft !
USING YOUR DASHBOARD
STORE & FORWARD / REMOTE LIVE LISTEN
The Dashboard has one function! To provide features on a single screen offering;
Optical Zoom Slider
4 x Way Lens Rotation
Tactical Palette On / Off
Manual Record Start / Stop
Loop Record Start / Stop
Motion Record Start / Stop
Single Camera Feed
Twin Camera Feed
Quad Camera Feed
CREATING A SHARE TOKEN
ALLOWING YOUR CLIENT / COLLEAGUES TO VIEW / CONTROL THE DVR
Ensure the DVR is connected to the internet
Now make a token and give the ghost-id to the other person
Create 2 x share tokens per camera
End the sessions at any time
Remake share keys each day or each task
DELETING A SHARE TOKEN
REMOVING A PERSON FROM SEEING YOUR CAMERA
Ensure the DVR is connected to the internet
Now follow the video to delete a token
End the sessions at any time
Remake share keys each day or each task
RIPPING FILES TO SD CARD
STORE & FORWARD / REMOTE LIVE LISTEN
Easily transfer files from DVR to SD Card via your smartphone; perfect for endex on task in the car. You do not need the internet for this method, and you do not need to have your "Smartphone Hotspot" turned on either.
ADDING A NEW HOTSPOT
PERFECT FOR COVERT BODY WORN OR LOCAL DVR CONNECTION
Your Smartphone hotspot is designed for 50-60ft direct connection to the DVR and perfect for;
DVR Time / Date Sync
Local View, File Download & Control
Using For Covert Body Worn
Using For Vehicle Observation Posts
Setting Motion Detection & Leaving In Situ
You can also Pre-install your colleagues hotspot username / password into the DVR and get them to use it as normal with their smartphone hotspot.
CONNECTING A WI-FI ROUTER
TRANSMIT YOUR CAMERA VIA WI-FI ROUTERS FOR FREE
Your DVR can connect to any Wi-Fi spot from any Home / Office Router or 4G Dongle. All you need is the routers SSID (Name) and the password, and within 30 x seconds your DVR will hide it's presence and allow you to covertly monitor that location.
REMEMBER: Turn your smartphone hotspot off for the Ghost-ID to show and then connect to it and add the new router.
WI-FI AUDIO STORE & FORWARD
STORE & FORWARD / REMOTE LIVE LISTEN
Turn your DVR into a Voice Activated Wi-Fi Audio Bug with this feature!
This unique feature gives you an on-screen deciblometer to set very accurate triggers, and records in MP3 Audio Format with two options to choose from;
- MP3_Box_Only_On (This means it uses the audio levels to trigger audio only files in MP3 Format)
- MP3_Box_Only_Off (This means it uses the audio levels to trigger a video / audio recording)
MASS FILE TRANSFER
CONNECTING LAPTOP DIRECT TO DVR
Drag all your files to laptop with no internet!
You only need your DVR to show the Ghost-ID; then connect your laptop to it.
Turn off your hotspot, and make sure it's not on a router.
FEATURES MANUAL
This is where you can learn how to use the features and alter your settings such as;
Set or alter your Motion Detection
Set Advanced Motion Detection Boxes
Setup your Voice Activation Feature
Use your pinhole Optical Zoom
Use your Tactical Palette Feature
Set or alter your Loop Record Feature
Rotate your lens in 4 x ways
Adjust the ISO (Something no camera can offer)
Adjust every other element of your DVR